· Martez Reed · Homelab · 3 min read
Building a Homelab Hypervisor
Building out a virtual lab environment to mimic complex production networks
The hypervisor wars are now in full swing and people are looking for options. VMware has dominated the virtualization market for the better part of the last two decades. VMware has also been a staple of many a home lab for IT professionals to get skilled up on the latest technology. I’ve been on the hunt for a replacement to VMware in my home lab but haven’t found the right solution.
What am I looking for?
There are a lot of options available like Proxmox, Hyper-V, Nutanix AHV, OpenStack, HPE VM Essentials, and others. I’ve tried all of them but realized that I wanted something very lightweight and purpose built for a home lab. This means I don’t need or want any of the “enterprise” features like high availability, live migration, or SSO. The other goal is to dig into the details of the core technologies used to build out some of the hypervisor options mentioned. One of the best ways to learn how something works is to take it apart.
Virtualization Technology
Given that part of this exercise is to develop a deeper understanding of the technology in use with other solutions, this made KVM the defacto choice for the virtualization layer. KVM is used in Proxmox, Nutanix AHV, OpenStack, HPE VM Essentials, OpenShift Virtualization, and more. QEMU for hardware emulation and LibVirt for management are two tools that are commonly added to a KVM based solution.
Networking
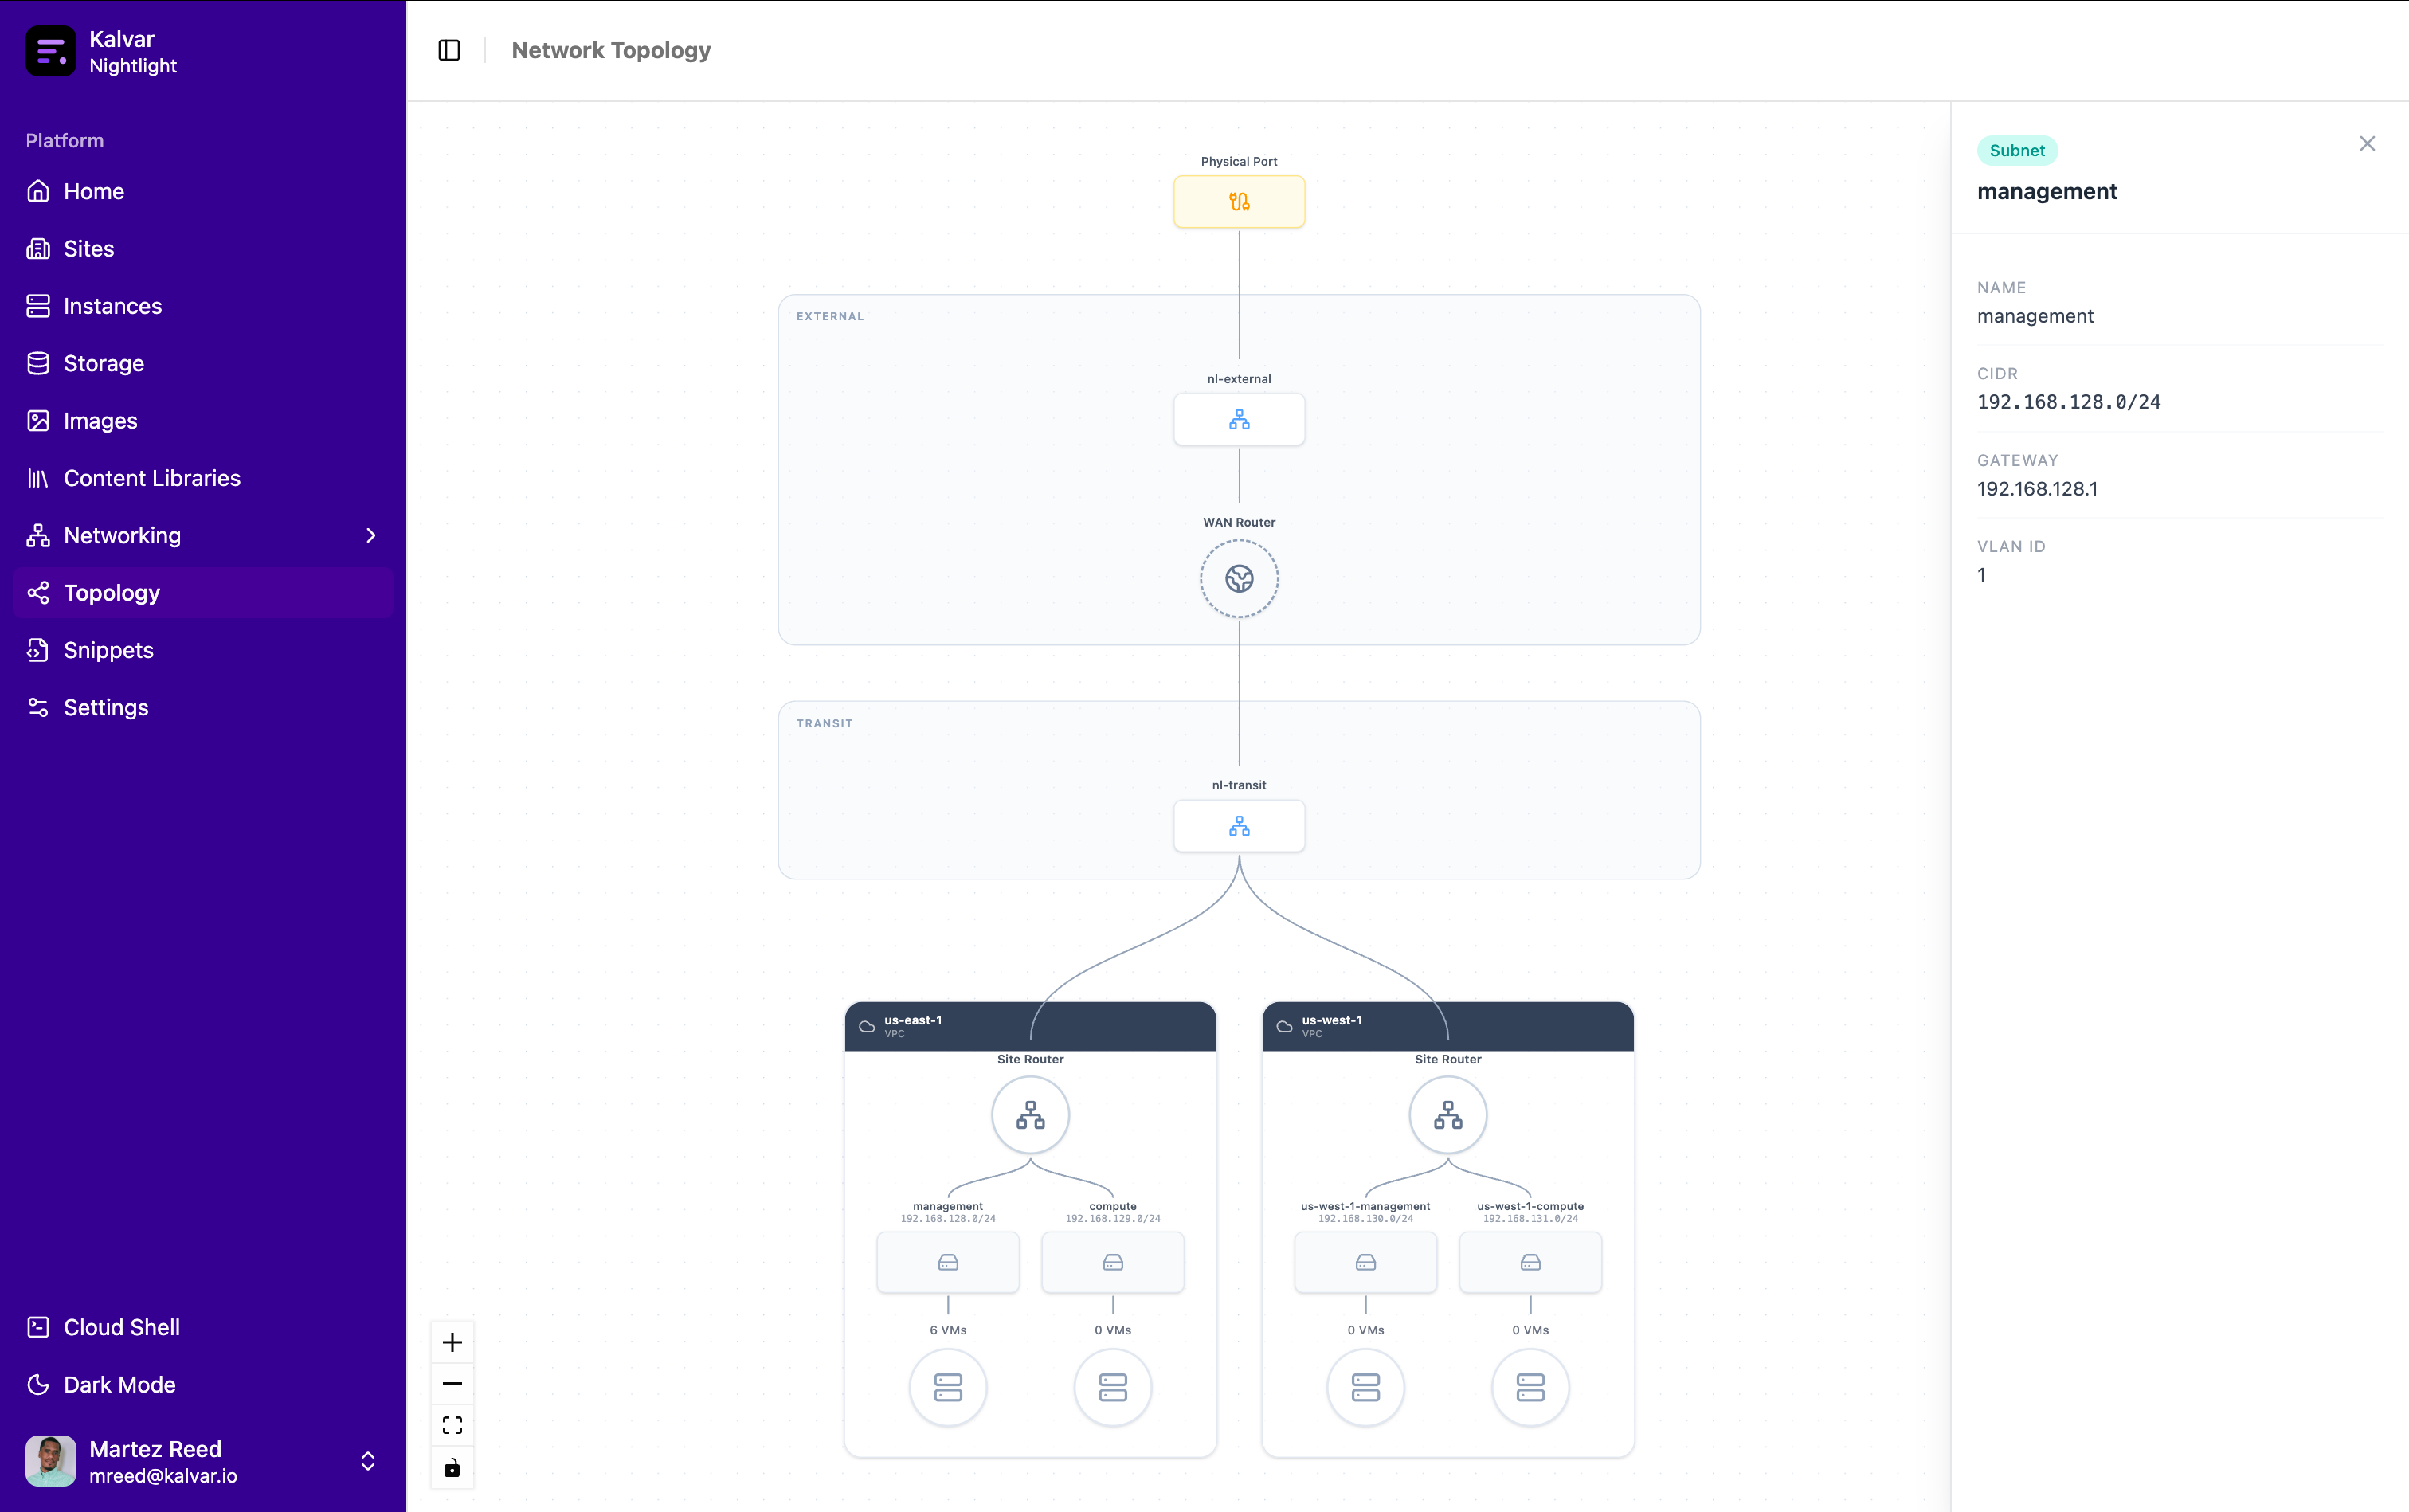
Open vSwitch (https://www.openvswitch.org/) is another open source component used in most KVM stacks. It enables advanced networking functionality over and above what’s available with standard Linux bridges. One particularly interesting feature is the ability to create flows that can be used to manipulate network traffic to and from virtual machines. This will be used to create a metadata service similar to the public clouds that can be used for cloud-init as well as providing metadata and identity to the virtual machines.
Management
The management layer is arguably the most important part given that I wanted a simple way to interact with all the underlying components. This is where most of the time and effort will be spent. I want to be able to spin up workloads in a matter of seconds with the ability to utilize advanced networking configurations to test real life scenarios. To enable this a custom API will be built using Golang to provide an abstraction. The Golang code will interface with Libvirt and Open vSwitch to manage the underlying constructs.
Conclusion
There are far simpler ways to get a hypervisor running in a home lab but experimenting is the main purpose of the home lab. In the next handful of blog posts I’ll detail some of the steps that I’m taking to build out the solution.